Changing your Jekyll theme without losing your mind (or your content!)
•
22 June 2025
•
9 mins
After I moved my website from Wordpress to Jekyll, I hadn’t changed the theme for nearly 5 years. When I finally decided to change the theme recently, it turned out to be a lot more complicated than I expected. After a lot of trial and error, and searching the internet, and asking ChatGPT, I managed to get the theme changed. As a note to my future self, and to anyone else who might be struggling to update their Jekyll theme, I am outlining the steps here that will make it relatively straightforward for you to move from one theme to another.
Disclaimer: While these steps will make it easy for your site to start looking closer to your desired theme, it is by no means a turnkey solution. You will still need to do a fair amount of hand editing for the new theme to work with your existing content. So, make sure you are able and willing to spend time fiddling with various configs, settings, and markdown front matter.
Prerequisites
Before we begin, here are the prerequisites:
- Your site is already version controlled by git. Ideally, it is already on Github.
- You are able to run Jekyll locally. If not, please follow the instructions in https://jekyllrb.com/docs/ and then come back here.
- The new theme that you have picked out for your site is a gem-based theme. Technically, the steps outlined below can be tweaked for a regular theme as well. I will include an addendum at the bottom on how you can work with regular themes as well.
- The post assumes that your Jekyll site source is in the directory
~/github/website. All references to~/github/websiteshould be replaced by the location of your source. - I assume that the theme that you want is Wind theme that can be installed via
gem "wind-theme". You can change it to whatever theme you pick.
Requirements
- The new theme is installed in the same location as the original site
- The content from the orignal site is preserved.
- The new theme lands as a single commit on top of the old theme. We do not want to lose the commit history.
- No vestiges or residues of the old theme must remain.
- This should be done via a Pull Request/merge and not via a force-push.
The Guide
Start with a clean slate
To begin, we’ll create a clean working directory. We don’t want to simply nuke ~/github/website since it contains all your site’s content. Since we want to keep the commit history, we cannot pull an orphan branch. So, we start by creating a branch off of main, and then working on it exclusively until we are ready to publish a Pull Request. We’ll start by creating a new branch and removing its contents so we can set up a fresh Jekyll site. Here are the steps.
First, create a new branch from main, and then nuke everything. This creates an empty working directory in the new branch, while preserving your full site on main.
cd ~/github/website
git checkout main
git checkout -b install_new_theme
git rm -rf .
git clean -dfx
Note: git clean -dfx removes any untracked files and directories, including ignored files, to fully clean the working tree.
Now you have a clean directory to install things in. Next, we install a fresh Jekyll site:
gem install jekyll bundler
bundle init
cd ..  # Change directory to `~/github`
jekyll new website --force
cd ~/github/website
Warning: jekyll new website --force overwrites contents of website/ and so make sure it doesn’t contain anything important that isn’t backed up.
Now, this is an empty Jekyll site, and we are going to change the theme on this empty site to the theme that you picked out.
Install new theme
Recall that I am going to install wind-theme. To do that, I edit the Gemfile ~/github/website/Gemfile as per the theme instructions, and the following line.
gem "wind-theme"
You can either use the default _config.yml, or copy your existing one from main via:
git checkout main -- _config.yml
Now, edit your _config.yml to set the theme to wind-theme (as per theme instructions).
theme: wind-theme
Now run the installer and then serve the site locally (in another shell).
cd ~/github/website
bundle
bundle exec jekyll serve
The empty site with your new theme should now be accessible at http://localhost:4000/. Make sure that it looks and feels as advertised, and that no errors are popping up when building the site. At this point, if you are seeing issues, then you will have to roll up your sleeves, figure out what wrong, and fix it. Once you are happy with your site, time to fill it up with your content.
Bring back your content
Your site’s contents should be in the main branch’s _posts, and any other directories you may have created to store content (such as documents, images, assets, etc.). The top level pages of your site should be the top level .md or .markdown markdown files. Then, you also have your .gitignore, CNAME, etc. Bring them all back by copying them from the main branch as follows:
git checkout main -- _posts about.md something_else.md CNAME .editorconfig .github
...
Note: If you want to bring back everything except the theme-related directories, use a wildcard or cherry-pick structure.
The shell building your site should pick these changes up and update the local build automatically. Check the console logs on the output of bundle exec jekyll serve to make sure that things are working correctly. Go check out http://localhost:4000/ to make sure that all your content is present and looks as expected.
Again, if something looks off, it is time to get your hands dirty, figure out what’s gone awry, and fix it. From here, you may need to debug based on your content and theme setup.
Once you are happy with the new theme, it is time to make it official!
Switching over to the new theme
First, let us commit all these changes we made into one fat commit.
git commit -am "Replace site with new jekyll theme"
Once you’re satisfied, push the branch to origin and open a pull request for review and merge.
git push --set-upstream origin install_new_theme
If you’re not using GitHub PRs, you can merge the changes directly into main via the CLI:
git checkout main
git merge install_new_theme
Once merged to main, you should be good to go. Congratulations, you have successfully changed your site’s theme!
Addendum: using regular themes
If you want to install a regular theme that is not gem-based, then instead of following the “Install New Theme” section’s instructions, do the following.
-
Download the regular theme files. You can fork them from github and clone it locally, if you want. That is what many repos suggest, but I prefer not to do that because those instructions assume that you will be installing your entire site on top of that repo. But that is not what you want. Presumably you want all of your content and associated commit history. So, don’t clone the repo. Just download it to a new directory (say)
~/tmp/new_theme.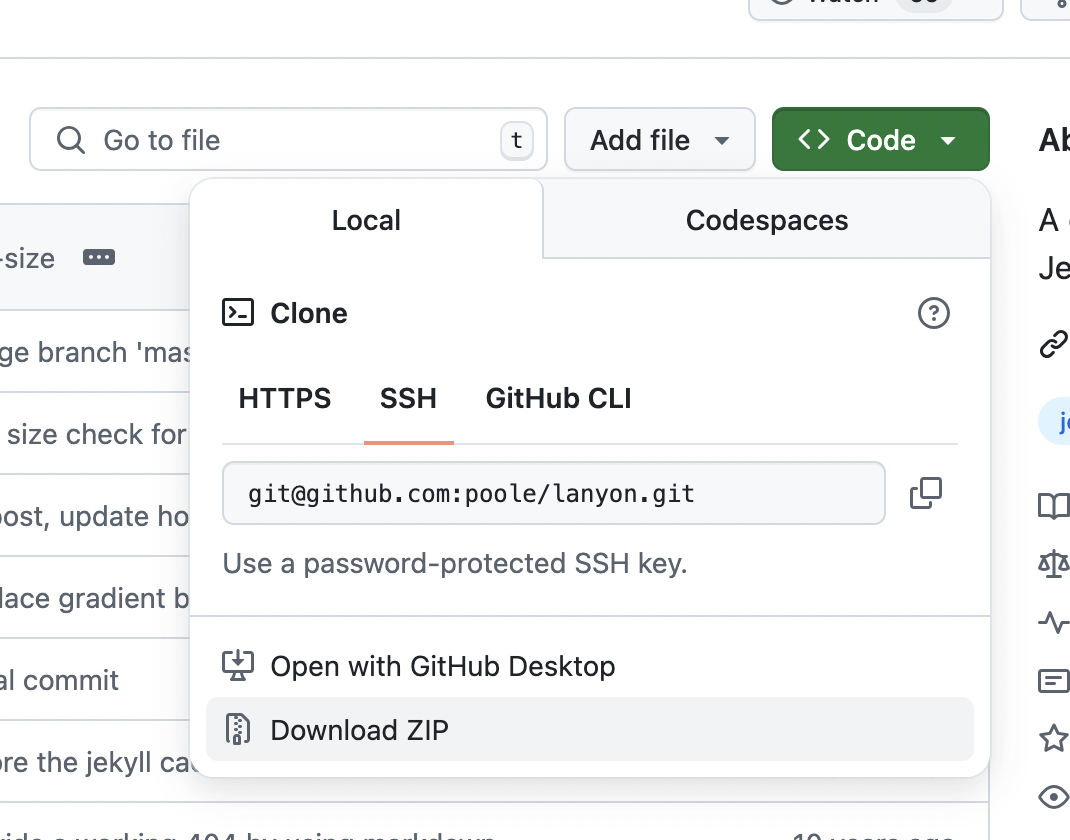
-
Copy over the theme files to your site directory (
~/github/website). This include directories such as_includes,_layouts,_data,assets, and typically any other directory that starts with_(except for_site). There might also be.jsor other files in the main directory that you might have to copy. -
Caution. Before moving on to the instructions in “Bring back your content” section, make sure that whatever content you are bringing back, it does not overwrite or interfere with the theme file that you just copied over. E.g., you might have images or icons in your
assetsdirectory, and the theme might also store some files inassetsdirectory that you just copied over.git checkout main -- assetsmight overwrite your new theme files with old site content, so use caution.
Final Checklist
- Your site is backed up or version-controlled
- You’ve created a new branch from
main(e.g.,install_new_theme) - You’ve cleaned out old content in the new branch
- You’ve installed a fresh Jekyll site and configured your new theme
- You’ve served the site locally and confirmed it builds with no errors
- You’ve copied over your original content and ensured nothing essential was lost or overwritten
- You’ve tested your new site at http://localhost:4000/ and confirmed the theme looks correct
- You’ve committed the changes as one clean commit
- You’ve pushed the branch and opened a PR — or merged the branch into
main - Your
mainbranch now reflects the new theme and your full content
Like it? Share it!